
Hexo博客本地配置
Hexo博客本地配置
本文搬运自本人高中时期CSDN博客,若图片加载不出来,可到原文查看:https://blog.csdn.net/zhangtingxiqwq/article/details/161539158
0. 环境
-
nodejs
-
git
1. 本地安装
-
选择一个本地文件夹路劲(不带中文)
-
右键
open git bash here -
输入:
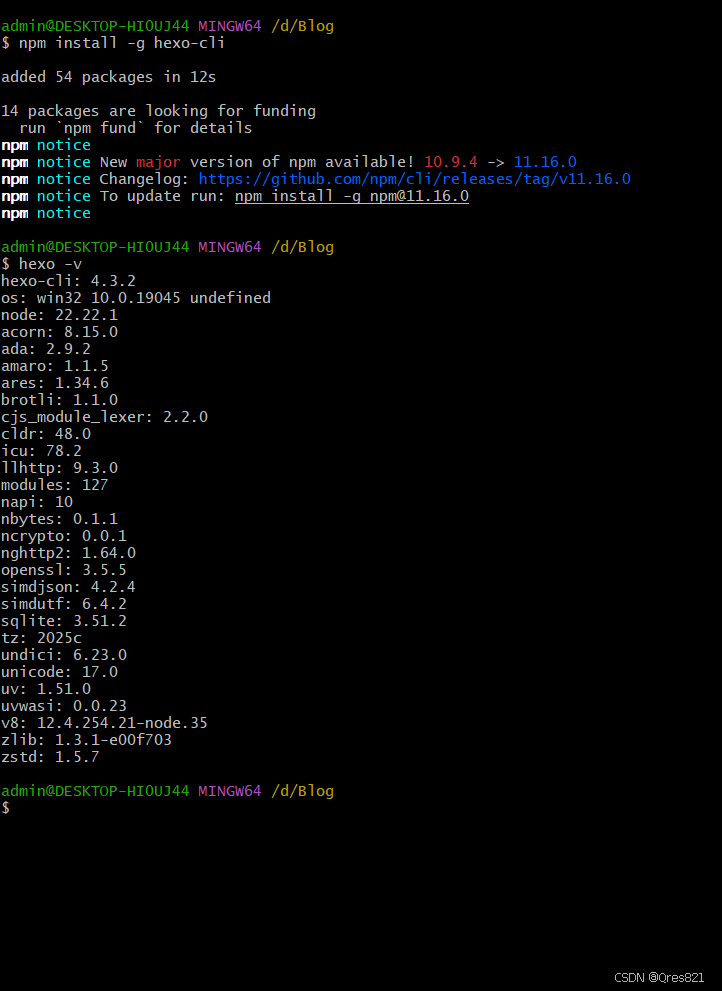
1 | npm install -g hexo-cli |
安装hexo
4. 输入 hexo -v ,查看是否安装成功:
2. 初始化
- 继续输入:
1 | hexo init |
然后我报错了
换个方法:
-
直接解压,所有文件丢到我的那个文件夹内
-
启动git bash,执行:
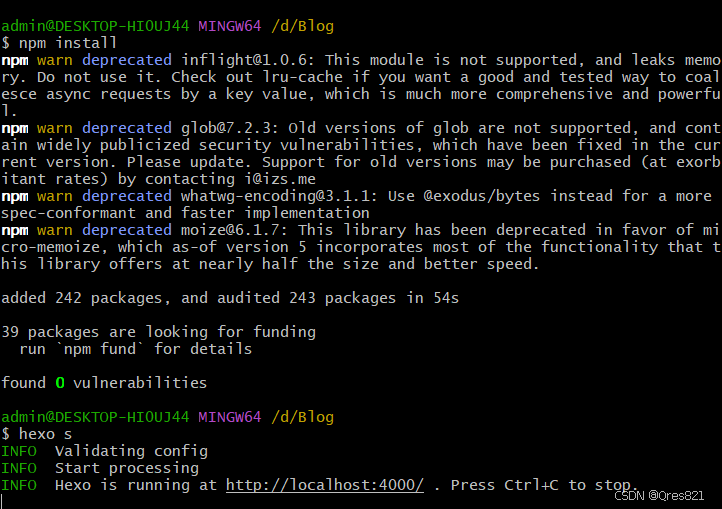
1 | npm install |
- 验证是否成功:
1 | hexo s |
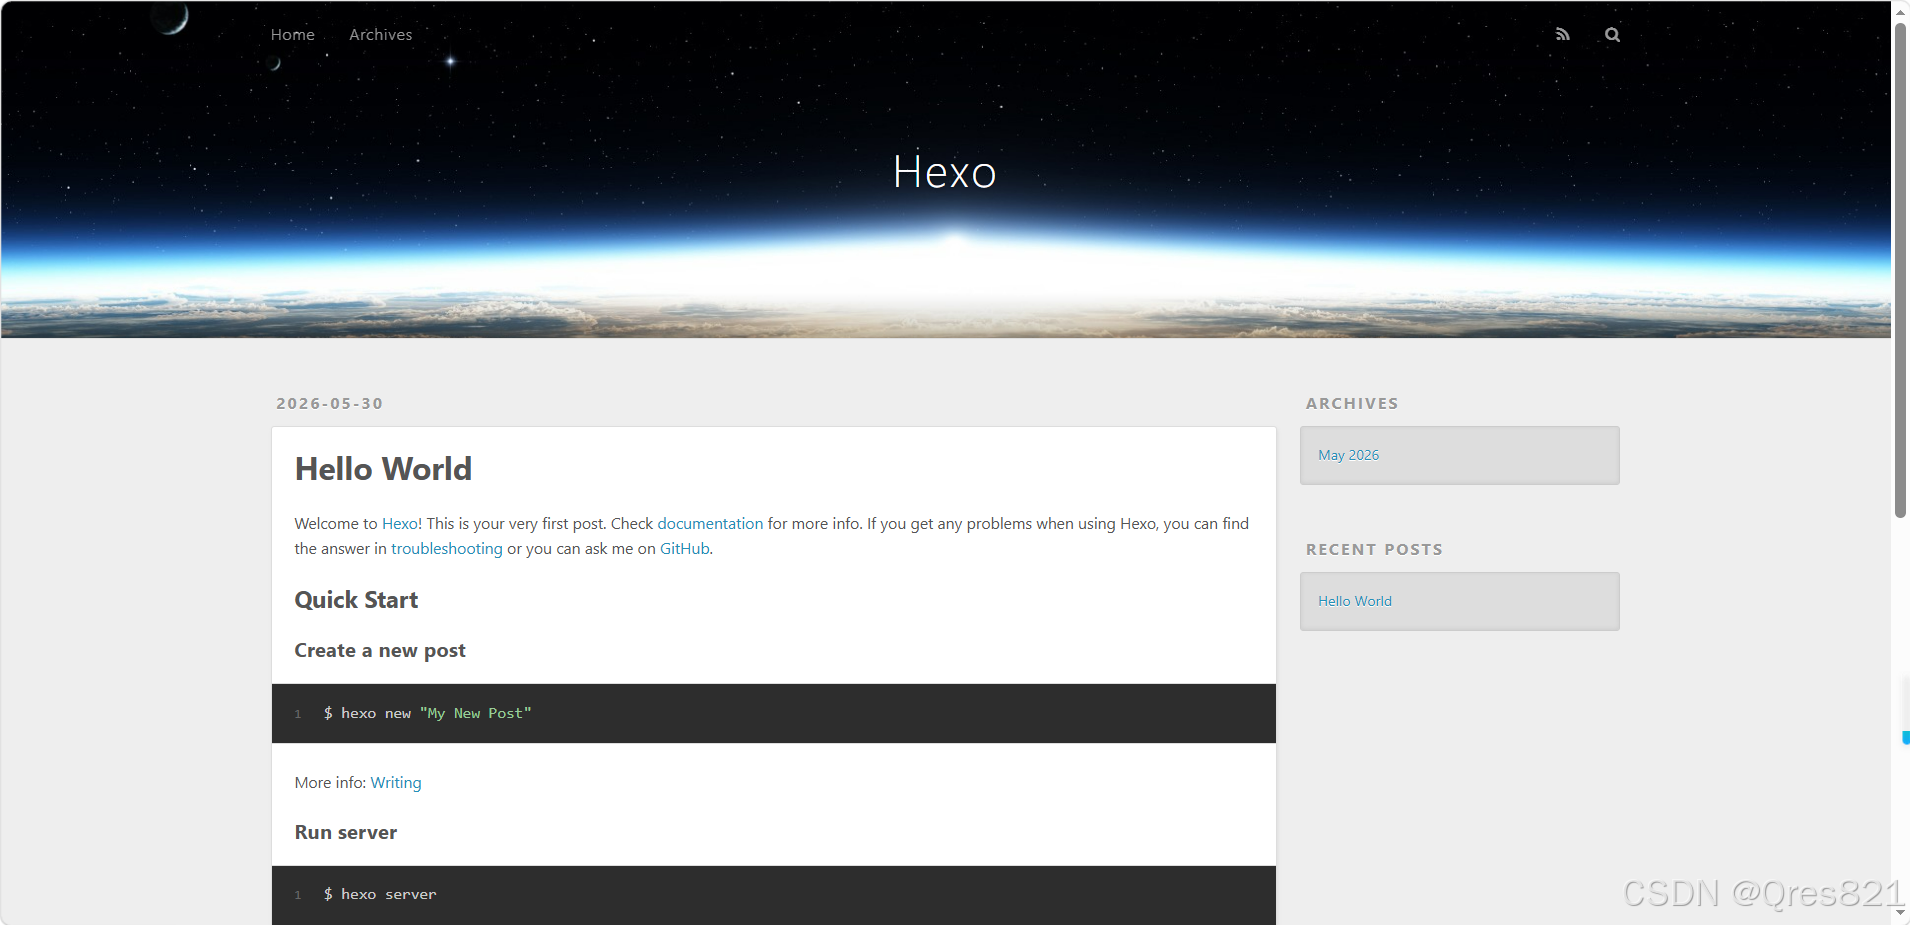
- 打开 localhost:4000,查看效果
3. 设置主题
我采用的是butterfly
https://github.com/jerryc127/hexo-theme-butterfly
- 下载:
1 | git clone https://github.com/jerryc127/hexo-theme-butterfly.git themes/butterfly |
- 安装主题依赖
1 | npm install hexo-renderer-pug hexo-renderer-stylus --save |
- 启用
在_config.yml文件中:
1 | theme: butterfly |
- 启动
1 | hexo clean |
也可以直接配置powershell:
1 | notepad $PROFILE |
然后在打开的记事本里添加:
1 | # Hexo快捷键 Hexos :清理 + 启动本地预览 |
回到终端:
1 | . $PROFILE |
4. 主题优化
这个部分我还没搞定
首先要去安装plug和stylus:
1 | npm install hexo-renderer-pug hexo-renderer-stylus --save |
在根目录里新建 _config.butterfly.yml ,然后把这个东西丢进去:
1 | # ==================== 1. 站点基础信息 ==================== |
个人about界面:
- 输入:
1 | hexo new page about |
- 打开 source/about/index.md,写入内容
本博客所有文章除特别声明外,均采用 CC BY-NC-SA 4.0 许可协议。转载请注明来源 zhangxixi的博客!
相关推荐

2026-06-30
Hexo中启用Katex
Hexo中启用Katex 首先你需要下载插件: 123456npm un hexo-renderer-marked --save # 如果有安装这个的话,卸载npm un hexo-renderer-kramed --save # 如果有安装这个的话,卸载npm i hexo-renderer-markdown-it --save # 需要安装这个渲染插件npm install katex @renbaoshuo/markdown-it-katex #需要安装这个katex插件 然后在hexo的根目录的 _config.yml 中配置: 1234markdown: plugins: ...

2026-07-01
博客园文章搬运至Hexo
博客园文章导入Hexo 获取文章 在博客园后台可以选择备份下载所有文章。 很久以前可以以 md 形式导出(现在不行了),而我那个时候导出过,所以我就有所有原始md文件 然后再以 xml 形式导出,这是为了补充我们前面的yml。 接下来我们把xml和md进行合并: 首先保证目录结构是这样子的: 123456789D:\cnblog\├─ cnblogs_backup.xml # 博客园后台导出的官方备份文件├─ md_original/ # 你之前下载好的所有MD原稿(带子目录分类也没关系)│ ├─ 算法/│ │ └─ DP/│ │ └...

2026-05-31
hexo博客上传github page
hexo博客上传github page 本文搬运自本人高中时期CSDN博客,若图片加载不出来,可到原文查看:https://blog.csdn.net/zhangtingxiqwq/article/details/161562364 在github上新建仓库,仓库名必须严格为 用户名.github.io, 并在setting里打开github page的设置 在 _config.yml 加入: 1234deploy: type: git # 部署类型,如 git, heroku 等 repo: https://github.com/2008zhangtx-oss/20...
2026-07-01
Hexo 生成永久文章链接
Hexo 生成永久文章链接 参考文献:https://blog.csdn.net/xinruodingshui/article/details/105682550 Hexo默认生成的文章链接规则是按日期标题,非常臃肿,URL层级很深,而且一旦修改就会404。 我们可以使用插件生成唯一的链接 安装 1npm install hexo-abbrlink --save 配置 在 _config.yml 文件中: 12345# permalink: :year/:month/:day/:title/permalink: p/:abbrlink.html # p 是自定义的前缀abbrlink:...

2026-06-30
Hexo启动搜索功能
Hexo启动搜索功能 下载插件 hexo-generator-searchdb 1npm install hexo-generator-searchdb --save 在Butterfly的 Search 项中,打开本地搜索: 随后即可使用

2026-07-01
Hexo数据统计页面
Hexo数据统计页面 参考文档:Hexo 博客文章统计图 | Eurkon 新建page: 1hexo new page charts 注入至 _config.butterfly.yml: 123inject: head: - <script src="https://npm.elemecdn.com/echarts@4.9.0/dist/echarts.min.js"></script> 在 \themes\butterfly\scripts\helpers\ 中新建 charts.js,注入: 1234567891011121314...